WebBench
- WebBench is a licensed PC Magazine benchmark program that measures the performance
of Web servers. VeriTest developed WebBench.
- WebBench uses PC/Windows clients to send requests to the server for static
files that you place on the server when you install WebBench or for a combination
of static files and dynamic executables that run in order to produce the data
the server returns to the client
- These clients simulate Web browsers. When the server replies to a client
request, the client records information such as how long the server took and
how much data it returned and then sends a new request. When the test ends,
WebBench calculates two overall server scores
- requests per second and
- throughput in bytes per second
as well as individual client scores.
- You can view all these results from the WebBench controller.
- You can use WebBench:
- To measure the performance of different Web
server software packages by running WebBench against them on the same
server hardware.
- To gauge how well different hardware systems
perform as Web servers by running a given Web server package and WebBench
on those systems.
- WebBench's easy-to-install controller and client programs, which include
ready-to-run test suites, mean you can quickly get started with your benchmark
testing and produce valid test results.
- WebBench provides templates for e-commerce and dynamic test suites. The
e-commerce test suite template lets you test the secure
transaction features of Web servers (as long as you have SSL configured
on your Web server). The dynamic test suite template is similar to the e-commerce
test suite template but it does not use SSL.
- There are other Web Server Benchmarking program such as specweb99. But it
is $500 for education price.
- SGI developed a WebStone program which has similar architecture as WebBench.
The controller utilizes unix rsh to coordinates several Unix clients to measure
the performance of the web servers.
- We will use WebBench to measure the performance of different web servers
(Apache, tomcat, IIS) and web server cluster.
Installation WebBench
- Download WebBench controller (3w50co.exe), client (3w50cl, and from
- There is a "Quickly starting and using WebBench" web page. on
http://www.etestinglabs.com/benchmarks/webbench/3w1about/3w1quickst.asp?visitor=
- Install Controller
- click on 3w50co.exe which self-extract or use winzip to restore the
webbenchController.
- click on setup.exe to install it. It will be installed in c:\WebBench\Controller
- Modify the client ID file (<CONTROLLER_DIR>\CLIENTIDS\CLIENT.CDB)
on the controller so that it contains an entry for each client in your
testbed. For each client, add an entry that contains the client's IP address
and a unique ID number. We installed a sample CLIENT.CDB file with the
controller.
- Install Client
- click on 3w50cl.exe which self-extract or use winzip to restore the
webbenchClient.
- click on setup.exe to install it. It will be installed in c:\WebBench\Client
-
- Edit the "HOSTS" file on Controller's machine and on Client Machines
to include the ip address and name of the controller, clients, and servers,
if they did not have a normal DNS name or you would like to have local host
to translate the name.
- For Windows NT/2000/XP, the path name to this file should look similar to:
<WINDOWS-INSTALL_DIR>\system32\drivers\etc\hosts
For Windows XP, the <WINDOWS-INSTALL_DIR> WINDOWS.
- I have the following entries in my file c:\windows\system32\drivers\etc\hosts
since I am running both the controller and one client on my laptop with IP
address 192.168.0.111, and running the apache web server on a virtual machine
called server with Redhat 9 and IP address 192.168.0.120.
192.168.0.111 controller
192.168.0.120 server
192.168.0.111 client
- Make sure you use the exact name controller and
server in the host file. Do not use ws1 for server for example.
- Install workload tree (sample web pages and CGI scripts) on the web server.
- move 3wtree.exe to the web page directory of web server. In case of
Apache 2.0.4 on Windows, this will be C:\Program Files\Apache Group\Apache2\htdocs.
- after restore the webstree directory, you can move them to an apache
server running on Redhat 9, in /var/www/html
- It takes a while to inflating and extracting the files in 20MB archive.
- On win2000 or win2003 server, you may bet "you are not authorized
to view the page" when the the url with wbtree. You can use IIS manager
to enable the directory browsing for wbtree.
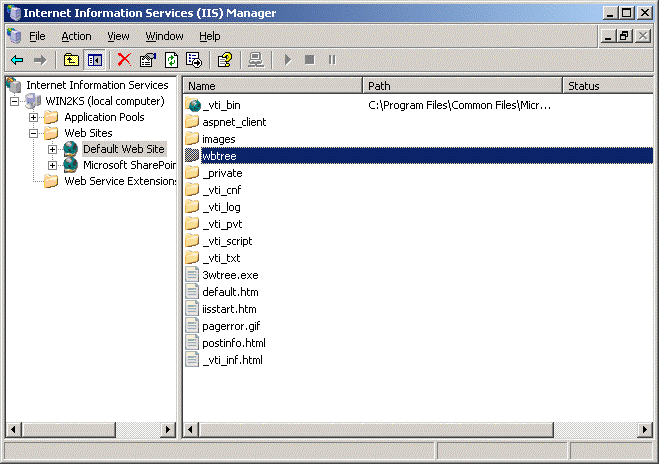
right click on the Default Web Site, select the property menuitem.
You will see the following dialog window:
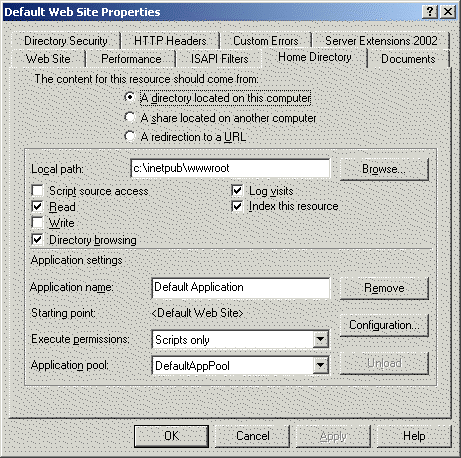
click on Directory Browsing. You can change the access setting of other
directories. In our case just select O.
Running WebBench
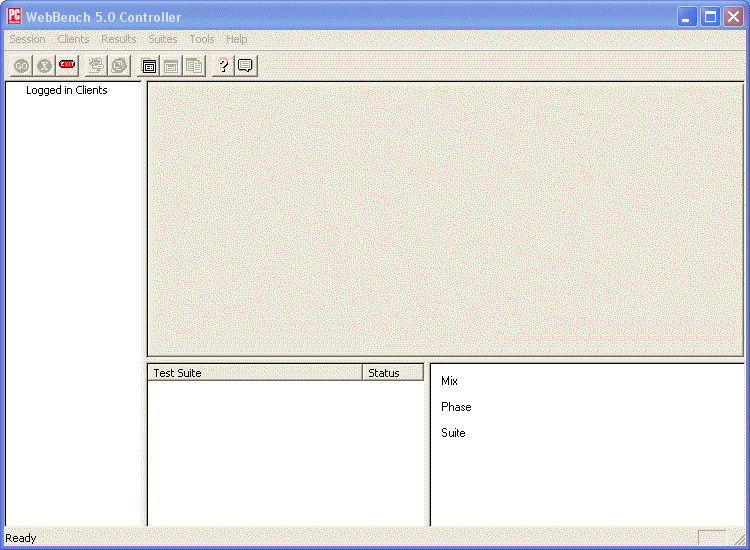
- Start the WebBench Controller with Start | PC Magazine Benchmarks | WebBench
5.0 Controlleror click on the Controller.exe in controller's install directory,
in my case it is c:\WebBench\Controller.
- It will pop up WebBench 5.0 License Agreement. the first time with OK button
dim.
- You need to select the text inside the text box more than one page for the
OK button to be activated.
- Click the OK button.
- The following Controller window will appear
- Start WebBench Client by selecting Start | PC Magazine Benchmarks | WebBench
5.0 client
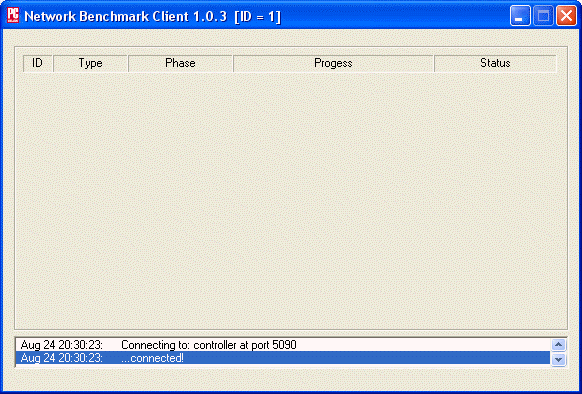
- To connect Controller with clients. Select Client | start log in. Or hit
the icon right next to the "exit" icon.
- The "connect client" dialog will appear.
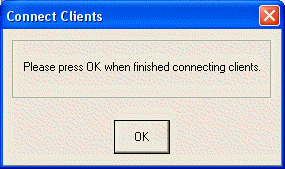
- Hit enter after you saw all clients are shown "connected! in their
status window (in the button part of the window).
- Controller will then asks if you would like to add a test suite.
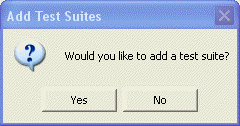
- Click yes. The directory window will appear. Select the Verify.tlg if you
would like to verify if the connection to client and server are ok.
- Select static.tlg or static_mt.tlg as default test.
- The following window will appear.
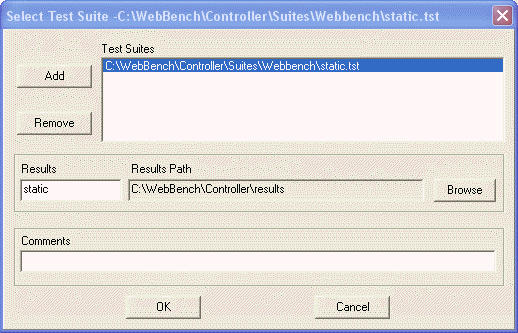
- You can change the directory for saving the result files and add other test
suites. Select OK.
- If there are existing results files in the directory. It will ask for confirmation.
- Controller then asks if you would like to start the execution of test suites.
If you do not need to change the defalut setting or server port/IP address.
Just click yes.
- If click no, then the Controller window will show the test suite selection
but indicates its status is "Not Run".
- Right click on the test suite and select "Edit" menu. The following
"Mix in Suite" window appears:
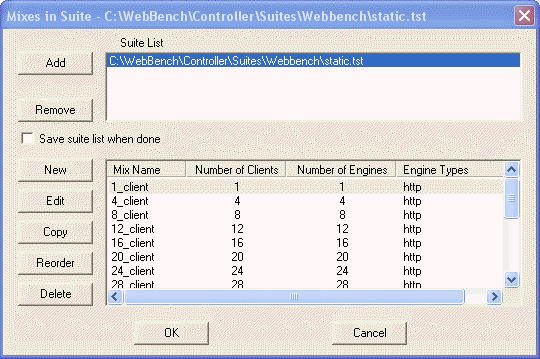
- Hit Edit button. The Mix Definition dialog as below
appear:
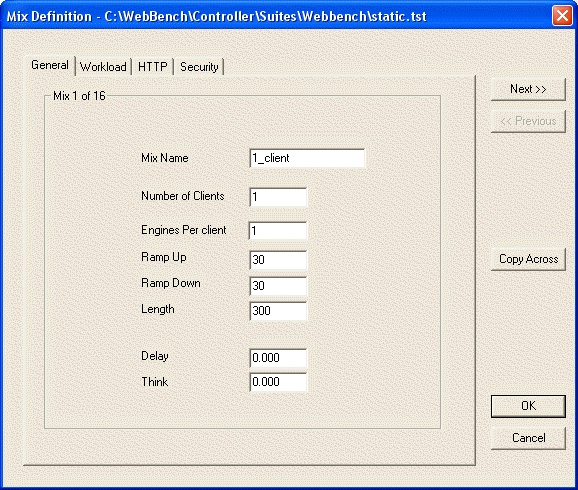
- Here you can specify Ramp up/down time (30 seconds) (also called warm up
time) and total run time (300 here).
- For server IP address changes or port changes (default
is 80 for tomcat we typically change it to 8080), we can select the "Workload"
tab, and the following dialog window appear:
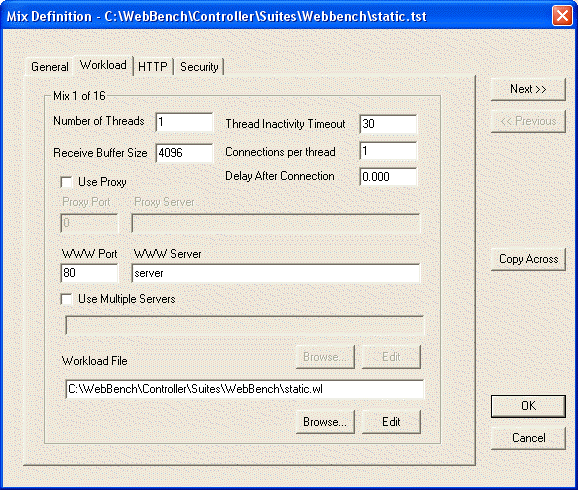
- You can set WWW Port and Server.
- After that, you need to select "Copy Across" so that the settings
reflect in other selected test suites.
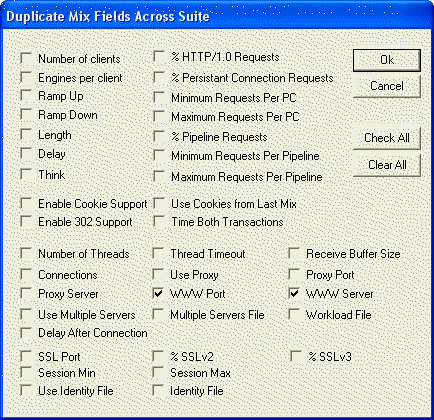
- Select WWW Port and WWW Server if those are the changes. Hit Ok.
- Hit OK again on the "mix in suite" dialog to confirm the test
setup. We are now ready to run.
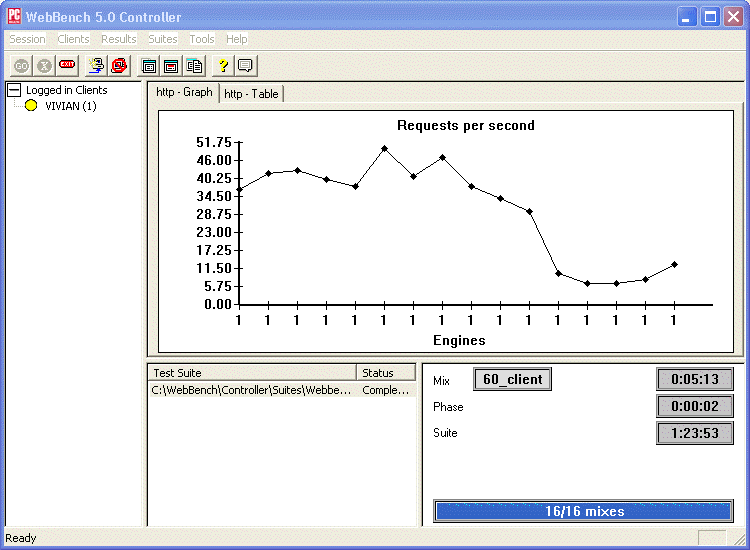
- Click "Go" icon on the controller window to start the test.
-
- You can observe the progress of the client web requests.
- The phase goes through login, Init, Run, Result (report result back to Controller),
Clean up. After repeated 15 times, it enters Complete phase and generates
the report
- It start with 1 client, then 4 clients, 8 clients, to 60 clients.
- At the end of each run, the result is plotted on the "http graph".
-
- When they are multiple machines as client. The controller will spread them
across those client machines.
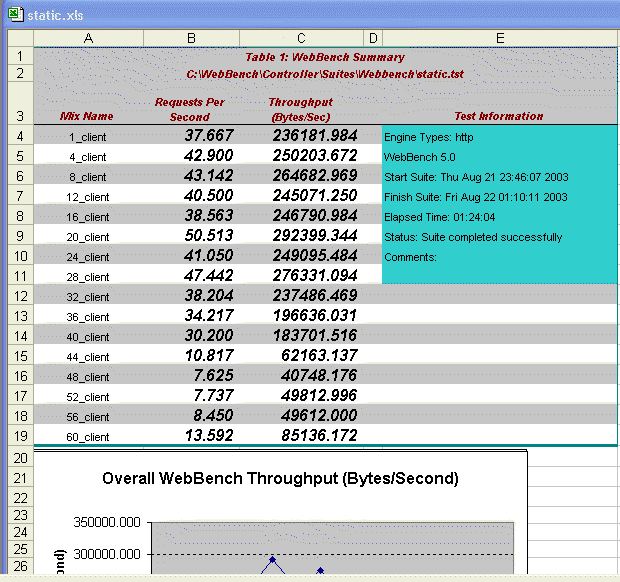
- After runs complete, select Result | View Result.
- You need to change the security level to media or low to allow the Excel
spreadsheet to display the result file with macro. Select Tools | Macro.
Interpret the webBench Results:
Here is the static_mt test suite on Pentium IV 2.8GHz, 1.5GB, XP
Professional, Apache 2.0.40.