Assignment Date:
4/1/2005
Due Day: 4/7/2005
Description:
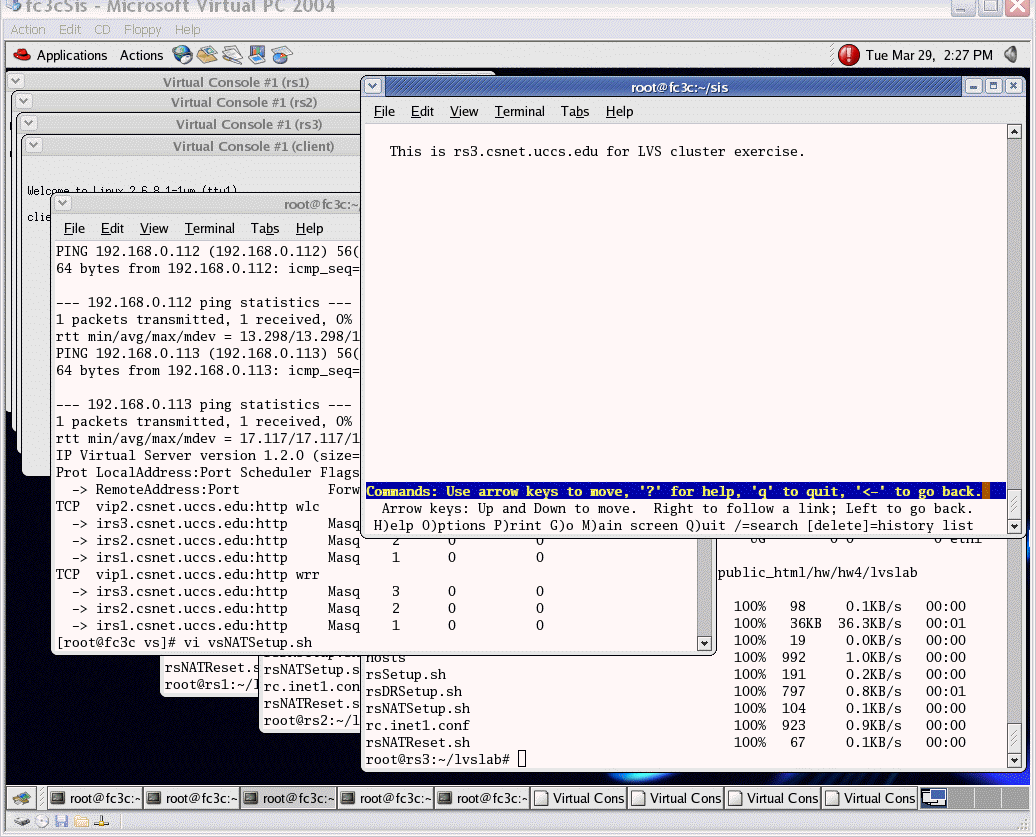
We are creating a VS-NAT cluster with the
following network topology, hostnames, and IP addresse assignment to the network
interface:
Note that client, rs1, rs2, and rs3 will
be created with User Mode Linux virtual machines. Since we use tuntap for
emualting the network interface of the virtual machine, we will need two
additional IP addresses for the two tuntap device of each virutal machine.
For example, rs1 is configured with eth0=tuntap,,,10.10.10.211 and eth1=tuntap,,,192.168.0.211.
The host fc3c will also serve as virtual server or LVS load balancer. Note
that you will be asked to answer the following five questions. Therefore
read them before you proceed with the exercises.
Answers of the following five questions:
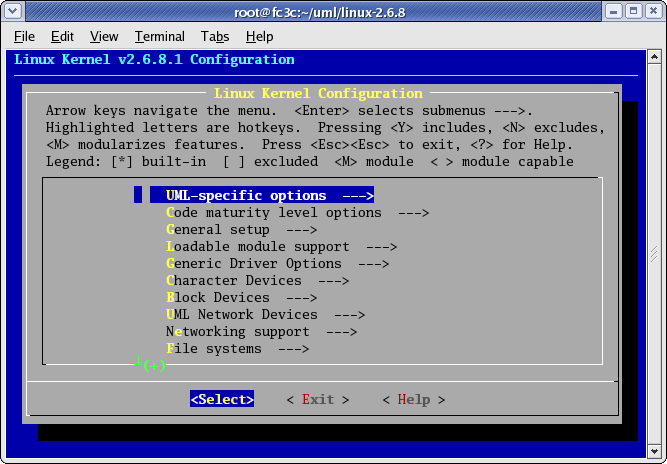
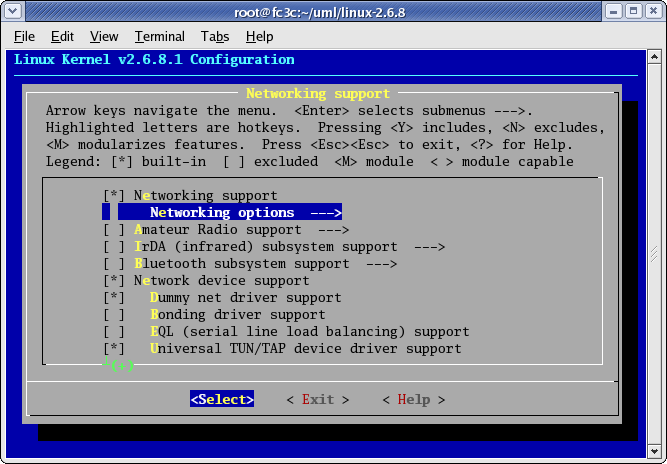
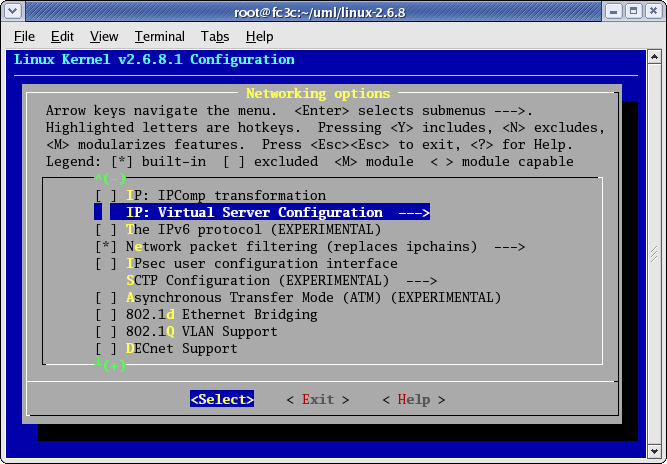
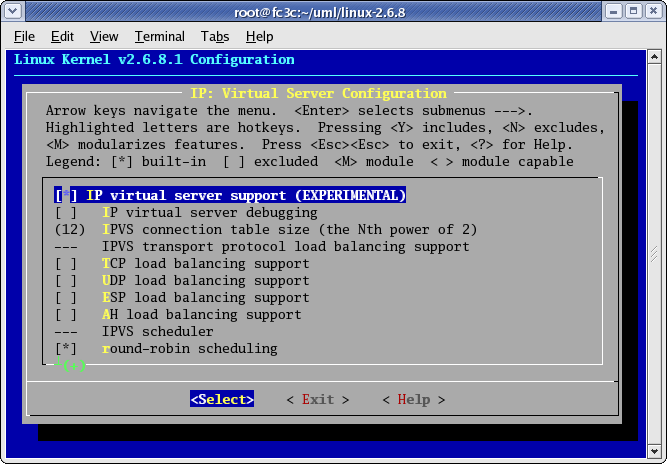
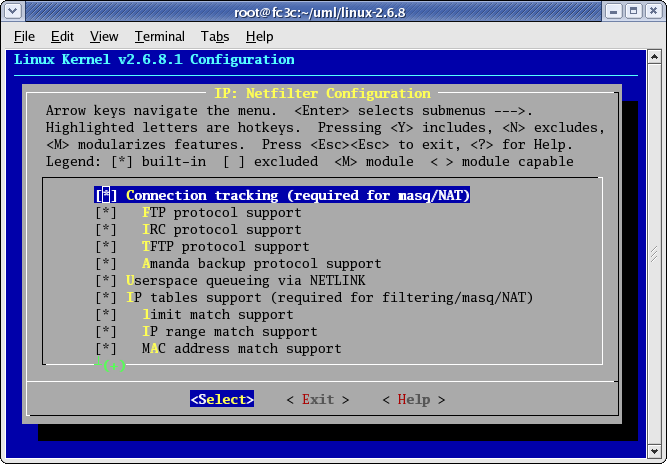
Exercise 1. Configure, Patch, and Compile the User Mode Linux. (about 20-30 minutes)
Here are the list keys for selecting or deselecting the options:
Use Up-arrow and down-arrow to navigate the menu.
Hit key <Enter> selects submenus --->‚Highlighted letters are hotkeys.
Press key <Y> to include the feature/option,
Press key <N> to exclude the feature/option,
Press key <M> to make include the feature/option as module.
Press <Esc><Esc> to exit, <?> for Help.
Legend: [*] built-in [ ] excluded <M> module < > module capable
We will select options in IP: Virtual Server Configuration and Network Packet filtering submenus.
From the top menu, hit down-arrow to select Networking Support ---> submenu.
Hit enter after the Networking Support menu was selected.
From the Network Support menu, hit down-arrow to select networking option submmeu. Hit enter there.
From the Networking options menu, hit down-arrow about 16 times to select the "IP: Virtual Server Configuration submenu".
From the IP: Virtual Server Configuration submenu, select the following schedulers and leave others unselected as default.
1. round robin
2. weighted round robin
3. least connection
4. weighted least connection
Exit the IP: Virtual Server Configuration menu, by hitting the Esc key.
From the Networking option menu, select the Network packet filtering (replaces ipchains) submenu. It is the two submenu down from the IP: Virtual Server Configuration submenu.
Select IP: Netfilter Configuration submenu. Hit enter.
Select all options here. There are quite a few options there, related to the firewall filtering features on different header field. Our exercise uses NAT and Masquerade.
Conclude the menu selection by hitting Esc keys until it says "Do you wish to save your new kernel configuration?"
Hit enter or Y to confirm the choice
Exercise 2. Create Copy-On-Write File Systems and Virtual machines. (about 20 minutes)
# copy the lvs cluster
configuration files in lvslab to the root file system
# to be shared by all virtual machines
mkdir mnt
mount root_fsSW9_sisbak mnt -o loop
cp -r lvslab mnt/root
umount mnt
# If you did not shut down the sis-orig virtual machine properly by "shutdown
-h now", the root_fsSW9_sisbak root file system may be in a
# inconsisten state that needs to be repaired. Instead repairing on each
real server virtual machine, it is a good idea to run ./sis.sh to make
# sure the shared file system is OK. You can also check if the lvslab
directory is copied properly in the above command.
./sis.sh
# Create copy-on-write
(COW) file systems for each virtual machines using the following script.
# Make sure your understand the syntx of the commands contained in all
the scripts of these exercises.
./mkcow.sh
# check the size of the copy on write file systems
ls -ls
# record the actual size of the cow file system (in KB).
# We could have mount
the cow file system and modify the system configuration
# file of each virtual machine before actually start it.
# It will avoid having to reboot for hostname to take effect.
# However when I use "mount root_fs_cow_rs1 mnt -o loop" it asks the file
system type.
# I added "-t ext2" and it said "mount: wrong fs type, bad option, bad
superblock on /dev/loop0
# Look like the newly created cow file system missing some file system
info and can not be recognized by
# the mount command.
# start rs1 virtual
machine
# open anotehr terminal window
cd sis
./rs1.sh
# you will see the following prompt:
# welcome to 2.6.8.1-lum (tty0)
# sis-orig login:
# another virtual Console will open with (rs1) as label
# login as root, same password
#
cd lvslab/rs1
./rsSetup.sh
reboot
#
# During reboot, if you see the following error msgs:
#
# VFS: Cannot open root device "98:0" or unknown-block(98,0)
# Please append a correct "root=" boot option
# Kernel panic: VFS: Unable to mount root fs on unknown-block(98,0)
#
# This is due to the root file system has not been released by the
# host OS
# after reboot the HOSTNAME will take effect and you will see
# rs1 login:
# login again
#
# check the network interface
ifconfig
# you should see eth0 set with 10.10.10.111
# and eth1 set with 192.168.0.111
#
# check the routing table
netstat -rn
# you should see the default gw set to 10.10.10.1
#
# go to the lvs configuration directory
cd lvslab/rs1
#
# on host machine, start the browser and
# type "http://rs1/
# you should see rs1.csnet default web page with pink background
#
# Repeat the above
steps for setting up rs2 virtual machine
# substitute "./rs1.sh" with "./rs2.sh"
# substitute "cd lvslab/rs1" with "cd lvslab/rs2"
# substitute "http://rs1/" with "http://rs2"
# substitute "cd lvslab/rs1" with "cd lvslab/rs2"
#
# Repeat the above steps for setting up rs3 virtual machine
# substitute "./rs1.sh" with "./rs3.sh"
# substitute "cd lvslab/rs1" with "cd lvslab/rs3"
# substitute "http://rs1/" with "http://rs3"
# substitute "cd lvslab/rs1" with "cd lvslab/rs3"
#
# Repeat the above steps for setting up client virtual machine
# substitute "./rs1.sh" with "./client.sh"
# substitute "cd lvslab/rs1" with "cd lvslab/client"
# Here we do not have to check the web sever on client
#
Exercise 3. Configure LVS-NAT Cluster (5 minutes)